How To Insert a PDF into Google Slides

INSERT A PDF INTO GOOGLE SLIDES, PAGE BY PAGE
- If you’re using Windows, open the Snipping Tool. If on Mac, open Grab.
- Use the Snipping Tool or Grab to take screenshots of each page of the PDF and save them as .JPG images.
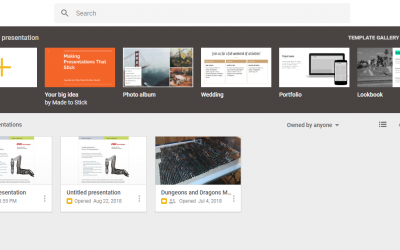
- Open a presentation in Google Slides and select where you want to add the PDF.
- Select Insert->Image.
- Select the .JPG you want to upload and drag it into the new window.
- Repeat steps 4 and 5 for each image file you want to use.
INSERT A PDF INTO GOOGLE SLIDES AS ONE IMAGE WITH A LINK
- If you’re using Windows, open the Snipping Tool. If on Mac, open Grab.
- Use the Snipping Tool or Grab to take a screenshot of the first page of the PDF, or of a representative image, and save it as a .JPG image.
- Open a presentation in Google Slides and select where you want to add the PDF.
- Select Insert->Image.
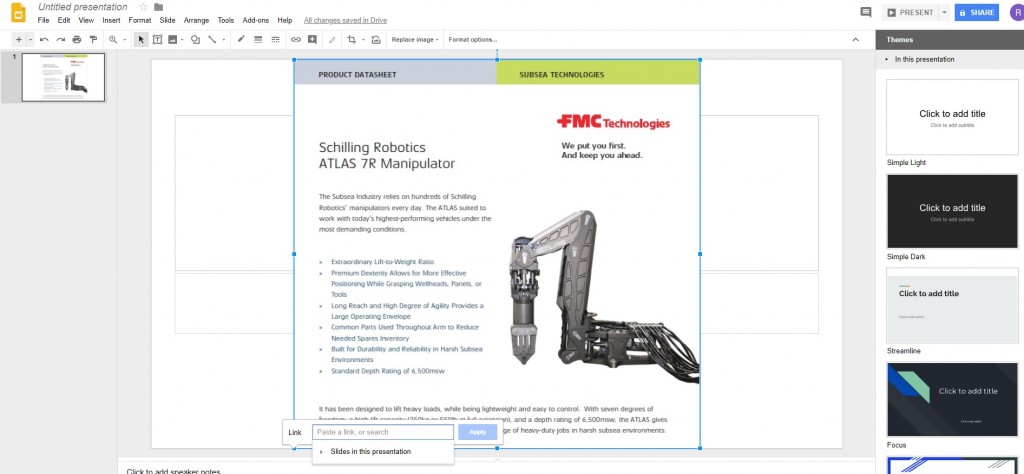
- Select the image in the Slides document.
- Select Insert and then Link.
- Add the URL where the PDF can be accessed.
As long as the PDF file is accessible to those you are presenting to, it will be available both at the time of the presentation and afterwards if you send out the slideshow.

CONVERT THE PDF INTO A JPG
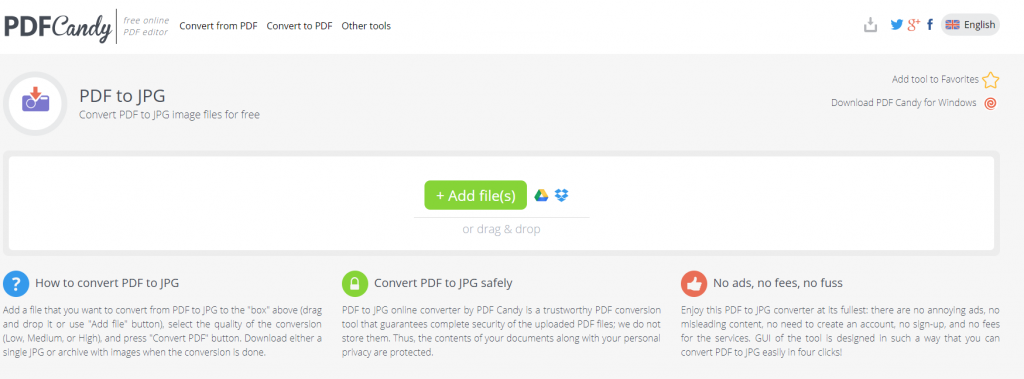
Perhaps the simplest approach, particularly if the PDF file isn’t likely to change, is to just convert the PDF file into a series of JPGs, which you can then directly import into your Slides presentation. There are many programs and web services available to do the conversion for you. One straightforward and reputable free service is PDFCandy. All you need is the PDF file stored on your local drive, Google Drive, or your Dropbox.
- Go to the PDFCandy website.
- Click the “Add Files” button and select the file(s) you want to convert.
- Specify whether you want low, medium, or high resolution.
- Click “Convert”
- Click “Download File”
- The JPG will appear in your browser; right-click on it and save the file to your local drive.
Note that PDFCandy has lots of other useful tools available.
INSERT A PDF INTO A POWERPOINT PRESENTATION
If you decide that this method is too crude or too much hassle, you can always use PowerPoint. While it costs money, most new computers come with a copy of Office even if it’s just a trial. Here’s how to insert a PDF into a PowerPoint presentation.
- Open your PDF document and leave it open on your desktop.
- Open your PowerPoint presentation and select the area you want to insert the PDF.
- Select Insert->Images.
- Select Screenshot and the icon of your PDF in the Available Windows list.
- Select Screen Clipping and drag and drop the cursor crosshair to select a section of the file to feature in the slide. Press Escape when done.
This works similarly to Google Sheets but inserts the whole PDF file behind the image. It is a more workable method as you don’t have to make the PDF file available separately; it’s integrated into your PowerPoint document.
You can also insert a PDF into a PowerPoint presentation as an object. This time you need to ensure the PDF file is not open on your computer.
- Open your PowerPoint presentation and select the area you want to insert the PDF.
- Select Insert->Object.
- Select Create from file and browse to the file location.
- Select the PDF file and OK.
The PDF should now become part of the slide and will stay as an object within the slide. Double click the file image to open the PDF.
Google Sheets has earned a place in many people’s online toolkits, including mine; it’s simple, easy to use and designed around the needs of the normal user rather than corporate types. No software is perfect, however, and the inability to directly import PDFs is a weakness of Slides. Fortunately there are workarounds that will allow you to (sort of) insert a PDF into Google Slides!
Do you have other techniques or tips for using PDFs in Google Slides? Share them with us below!

Post a Comment